

Mini Excavator Common Problems & Troubleshooting
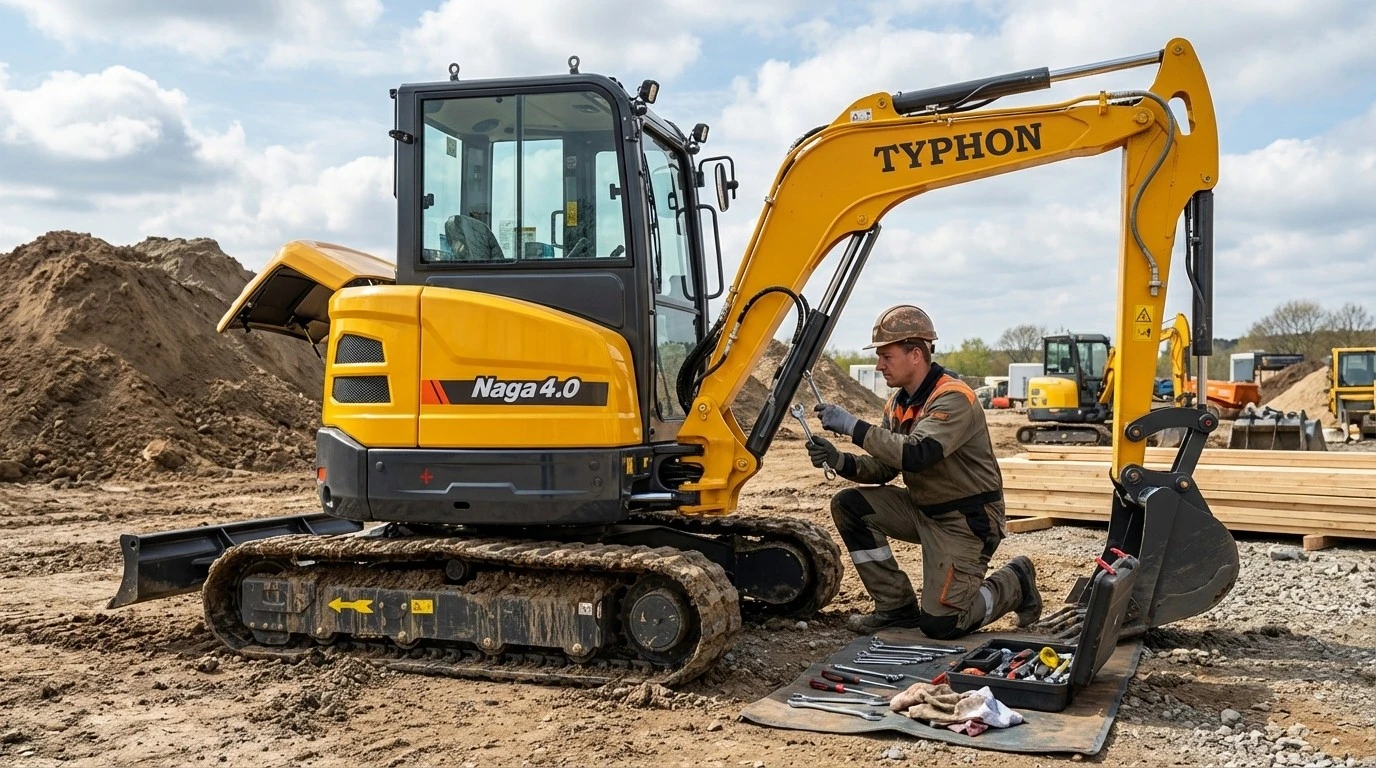
Equipment downtime directly destroys your profit margins. When your mini excavator stops working, your entire job site grinds to a halt. You lose billable hours, frustrate your clients, and incur expensive emergency repair costs. Identifying mechanical issues early prevents catastrophic failures and keeps your fleet operating at peak efficiency.
Every contractor faces equipment malfunctions eventually. The difference between a minor delay and a major financial loss lies in your ability to diagnose and resolve these issues rapidly. Understanding the mechanical realities of your machinery empowers you to fix small problems before they escalate into massive repair bills.
This comprehensive guide breaks down the most common problems operators encounter with mini excavators. You will learn how to identify hydraulic failures, diagnose engine issues, resolve track malfunctions, and troubleshoot electrical faults. By implementing these factual troubleshooting steps and strict maintenance protocols, you guarantee your equipment delivers reliable, long-term performance.
Recognizing Hydraulic System Failures
The hydraulic system serves as the muscle of your mini excavator. It converts engine power into the immense breakout force required to dig trenches and lift heavy materials. Because the system operates under extreme pressure, even minor component wear can drastically reduce machine performance.
When contractors complain about a lack of digging power, the hydraulic system is almost always the culprit. You must understand how to read the warning signs of fluid degradation and component failure. Addressing these issues immediately protects the highly expensive main hydraulic pump from catastrophic damage.
Sluggish Boom and Bucket Movements
A healthy mini excavator responds instantly to joystick inputs. If your boom, arm, or bucket movements feel slow, jerky, or unresponsive, your hydraulic system lacks the necessary fluid flow. This sluggishness drastically reduces your hourly production rates and frustrates operators.
The most common cause of slow hydraulics is a low fluid level. Check the hydraulic sight glass on the side of the main tank while the machine sits on level ground. If the fluid sits below the minimum line, the pump draws in air, causing the system to hesitate and cavitate.
Clogged hydraulic filters also restrict fluid flow. As the pump forces thick fluid through a dirty return filter, the overall system pressure drops. Replace your hydraulic filters exactly according to the manufacturer's specified service intervals. Using genuine OEM filters ensures the exact micron rating required to protect your specific control valves.
Overheating Hydraulic Fluid
Hydraulic systems generate massive amounts of heat during heavy earthmoving. The fluid acts as a coolant, absorbing this heat and carrying it to the hydraulic cooler. If the fluid becomes too hot, it loses its viscosity, causing the machine to lose digging power completely.
Overheating typically occurs when the hydraulic cooler becomes blocked with job site debris. Inspect the aluminum fins of the cooler daily. If you work in dusty environments or clear thick brush, dirt and leaves quickly pack into the cooling fins, blocking vital airflow. Use compressed air to blow the debris out of the cooler fins carefully.
Using the wrong grade of hydraulic fluid also causes overheating. Cheap, generic hydraulic oil breaks down rapidly under extreme pressure. Always utilize the exact fluid grade specified by your equipment provider. High-quality fluid maintains its viscosity and protects your internal pump components, guaranteeing reliable performance during long summer shifts.
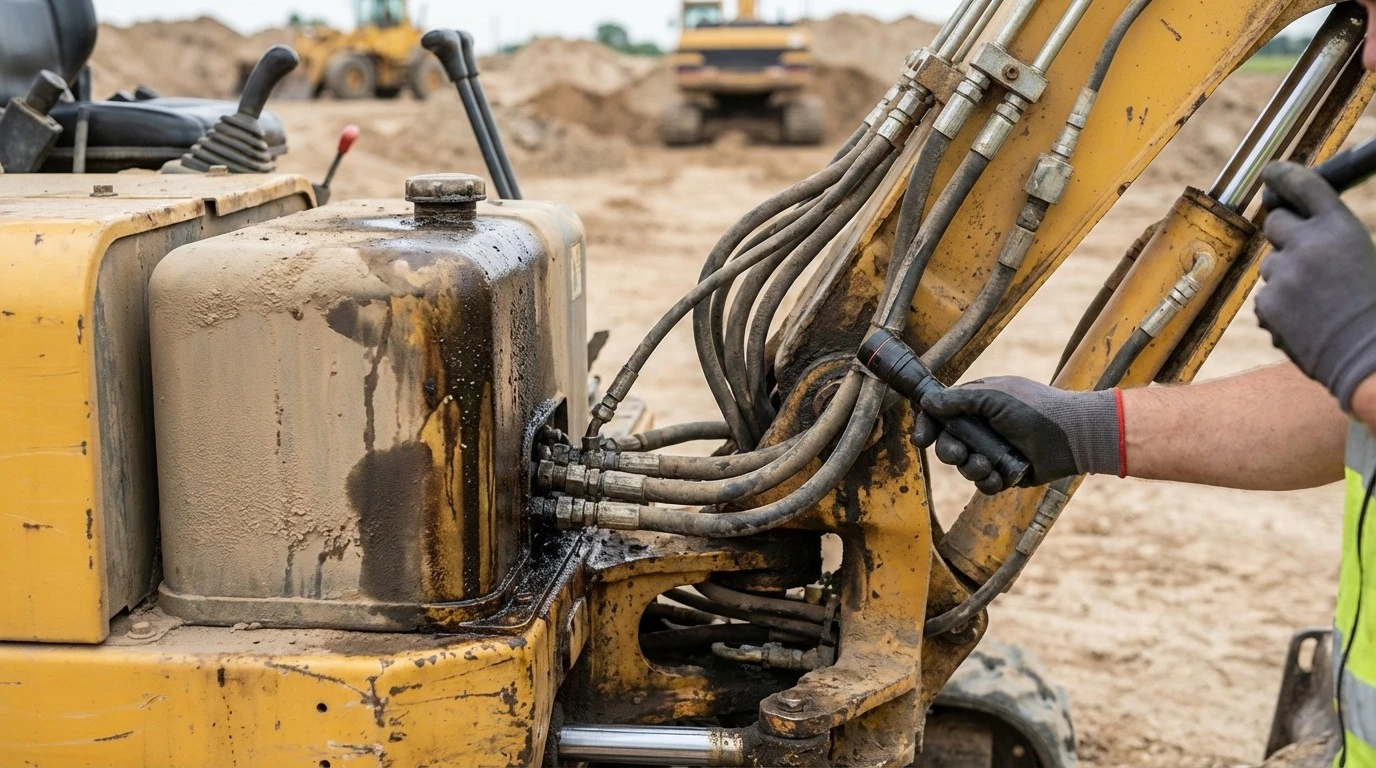
Cylinder Leaks and Seal Failures
Hydraulic cylinders convert fluid pressure into physical pushing and pulling force. Each cylinder features a highly polished steel rod and a series of heavy-duty internal rubber seals. These seals keep the pressurized fluid inside the cylinder barrel while keeping abrasive dirt outside.
If dirt breaches the external wiper seal, it acts like sandpaper against the steel rod. This scores the metal and creates a pathway for hydraulic fluid to leak. Inspect all boom, arm, and bucket cylinders daily for weeping fluid. A small drip might seem insignificant, but it indicates a compromised seal that will eventually blow out completely under heavy loads.
To troubleshoot a leaking cylinder, you must first wipe the entire area completely clean. Operate the machine for a few minutes and observe exactly where the fluid emerges. If the fluid leaks from the cylinder gland, you must rebuild or replace the cylinder immediately. Addressing a small seal leak costs a fraction of replacing a heavily scored, ruined cylinder rod.
Diagnosing Engine and Power Issues
The diesel engine provides the raw mechanical power required to turn the hydraulic pumps and drive motors. Modern mini excavators utilize highly efficient, low-emission engines that deliver consistent torque. When the engine struggles, the entire machine fails to perform.
Engine problems often present themselves as a lack of power, rough idling, or excessive exhaust smoke. You must approach engine troubleshooting methodically. Start with the simplest, most common causes before tearing into complex internal components.
Engine Stalling Under Heavy Loads
When you dig into hard, compacted clay, the hydraulic pump demands more power from the engine. A healthy engine maintains its RPMs and powers through the resistance. If your engine bogs down and stalls the moment you apply digging pressure, it is likely starving for fuel or air.
Fuel starvation remains the leading cause of engine stalling. Diesel fuel easily grows algae or accumulates water if left sitting in bulk storage tanks. This contaminated fuel clogs the primary fuel filter and the water separator. Drain the water separator daily and replace the primary fuel filter if you suspect contaminated fuel.
A clogged engine air filter also causes severe power loss. The engine requires massive volumes of clean air to combust the diesel fuel completely. Inspect the primary air filter element frequently. If it appears black with soot or heavy dust, replace it immediately. Never use compressed air to blow out an air filter, as this forces microscopic dirt particles through the paper media and directly into the engine intake.
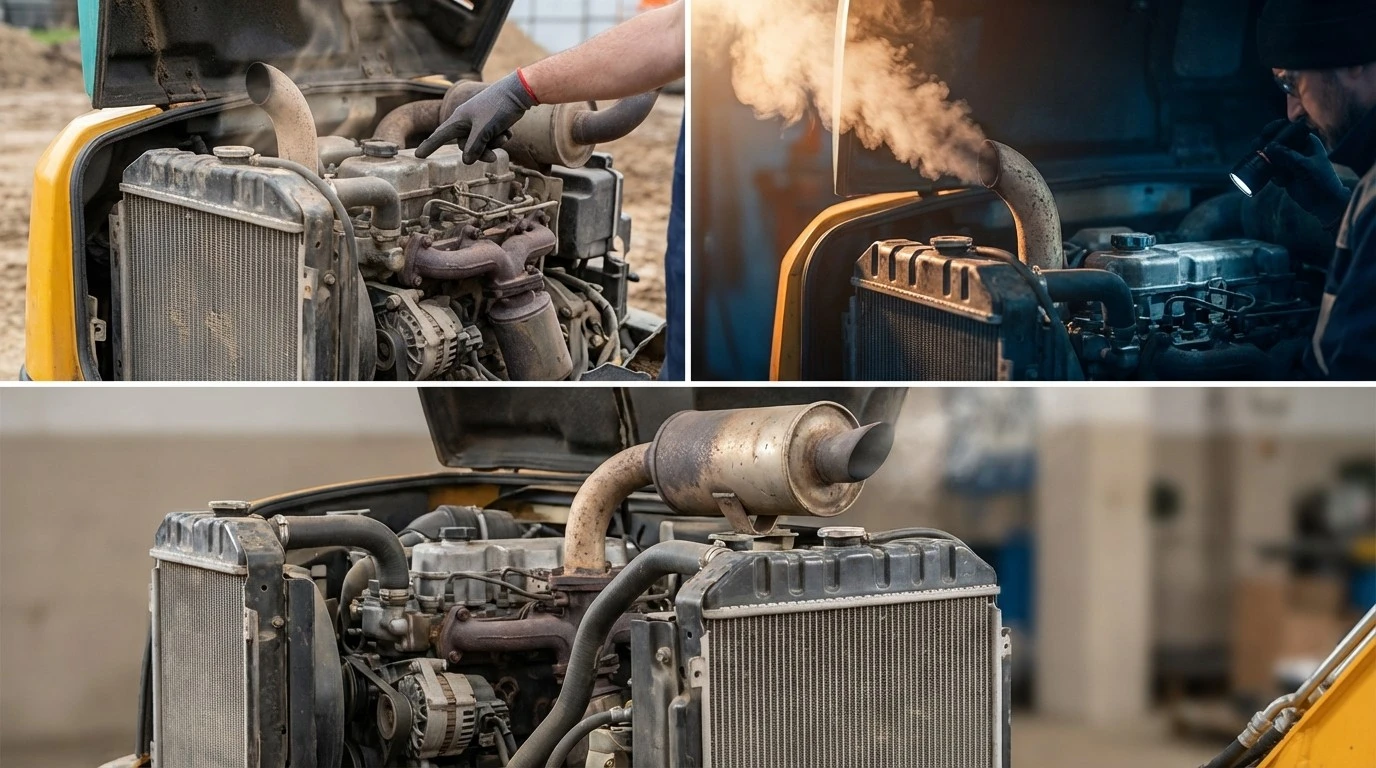
Understanding Exhaust Smoke Colors
The color of your excavator's exhaust smoke tells a factual story about the internal health of the engine. A perfectly tuned modern diesel engine emits almost no visible smoke once it reaches operating temperature.
Black smoke indicates the engine is burning too much fuel and not getting enough air. This usually points directly to a heavily clogged air filter, a faulty fuel injector, or an overloaded machine. White smoke occurs when unburned fuel passes entirely through the exhaust system. This often happens on cold mornings, but if white smoke persists all day, you likely have a blown head gasket allowing coolant to enter the combustion chamber.
Blue smoke is the most severe warning sign. It means the engine is burning its own lubricating oil. This indicates worn piston rings, degraded valve seals, or a failing turbocharger seal. If your machine blows consistent blue smoke, stop operating it immediately and contact your dealer's certified service technicians to prevent total engine destruction.
Overheating Diesel Engines
Engine overheating destroys the cylinder head and the main engine block. The cooling system relies on a continuous flow of a specific antifreeze and water mixture. If this system fails, the engine temperature gauge will spike into the red zone rapidly.
Check the coolant level in the overflow reservoir before starting the engine each morning. If the coolant level drops consistently day after day, you have a leak in the radiator, the water pump, or a deteriorated coolant hose. Do not simply add water to top off the system, as this dilutes the antifreeze mixture and reduces the boiling point of the coolant.
Inspect the engine cooling fan and the heavy rubber fan belt. A loose or heavily cracked fan belt slips against the pulleys, failing to spin the cooling fan at the proper speed. Check the tension of the fan belt by pressing firmly on the center of the longest span. If it deflects more than half an inch, you must adjust the tensioner pulley or replace the belt entirely.
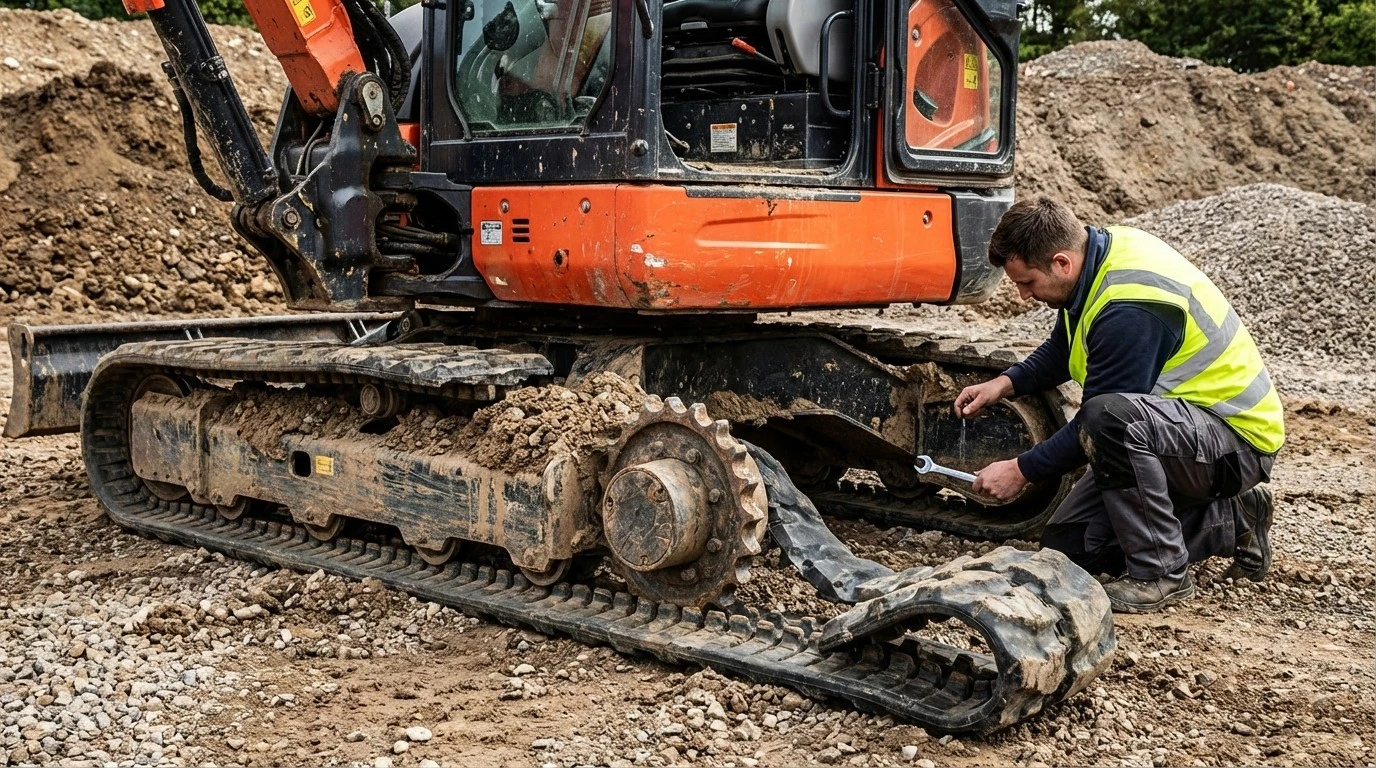
Resolving Undercarriage and Track Malfunctions
The undercarriage supports the entire operating weight of your mini excavator. It dictates how the machine travels across uneven terrain and provides the necessary stability for heavy lifting. Undercarriage components endure relentless punishment from rocks, concrete debris, and abrasive sand.
Track and drive motor issues quickly render a machine useless on a job site. Understanding how to properly tension the tracks and monitor the final drives ensures your machine maintains maximum mobility and reliability.
Rubber Track Derailment
Rubber tracks occasionally slip off the idler wheels or drive sprockets, leaving the machine stranded. Track derailment almost always results from improper track tension or severe operator error. Operating a mini excavator safely requires an understanding of how the tracks interact with the ground.
If the track tension runs too loose, the heavy rubber track sags between the idler and the sprocket. When you turn the machine sharply on uneven ground, the loose track easily jumps the guide rails. You must measure and adjust your track tension exactly according to the manufacturer's specifications.
To fix a derailed track, lift the side of the machine off the ground using the boom and the front dozer blade. Release the pressure from the track tensioning cylinder completely. Use heavy steel pry bars to lever the track back over the front idler wheel, then re-pressurize the tensioning cylinder with fresh grease.
Premature Track Wear and Tearing
Rubber tracks represent a significant replacement expense. You want to extract as many operating hours from a set of tracks as possible. Premature wear typically stems from aggressive operation on harsh surfaces.
Spinning the tracks rapidly on abrasive asphalt or sharp crushed concrete shreds the rubber lugs quickly. Operators must execute wide, sweeping turns on these surfaces rather than aggressive counter-rotations. Inspect the track edges for deep cuts exposing the internal steel cables. Once moisture reaches these steel cables, they rust and snap, causing the entire track to fail instantly.
Keep the undercarriage completely clean. Packed mud and rocks trap the bottom rollers, causing the tracks to drag across the seized steel rather than rolling smoothly. Shovel out the track frames at the end of every single shift to prevent mud from hardening overnight.
Final Drive Motor Sluggishness
The final drive motors sit at the rear of the undercarriage and propel the machine. These complex assemblies feature a hydraulic motor bolted to a planetary gear hub. If one track moves noticeably slower than the other, or if the machine refuses to travel in a straight line, a final drive motor requires attention.
The planetary gear hub requires a specific gear oil to lubricate the heavy steel gears. Operators often neglect this fluid, leading to severe internal wear. Park the machine so the fill and drain plugs on the final drive align vertically. Remove the top fill plug and verify the gear oil sits just below the threads.
If the gear oil appears milky, water has breached the main floating seal. If the oil contains shiny metal flakes, the internal gears are actively destroying themselves. Drain and replace the final drive gear oil every 500 hours to guarantee the immense pushing power your machine requires.
Identifying Electrical System Faults
Modern mini excavators rely heavily on complex electrical systems. These systems monitor engine vitals, control hydraulic flow rates, and manage the safety interlock switches. Electrical gremlins often frustrate operators because the symptoms seem entirely unrelated to the mechanical components.
Approaching electrical issues requires patience and a systematic process. You must eliminate the simplest potential failures before suspecting expensive control modules or main wiring harnesses.
Dead Batteries and Starting Issues
When you turn the ignition key and hear only a rapid clicking sound, the starter motor lacks the amperage required to turn the heavy diesel engine over. This points directly to a weak battery, a faulty alternator, or corroded battery terminals.
Inspect the battery terminals first. Construction sites cover batteries in thick, conductive dust. If you see white, powdery corrosion on the battery posts, the electrical connection is severely compromised. Disconnect the battery cables, clean the posts with a wire brush, and reattach them tightly.
If the battery frequently dies overnight, you likely have a parasitic draw or a failing alternator. Once you jump-start the machine, use a digital multimeter to measure the voltage across the battery terminals while the engine runs at full throttle. The alternator should deliver a steady 13.5 to 14.5 volts. If the voltage sits lower, the alternator requires immediate replacement.
Malfunctioning Gauges and Sensors
The digital dashboard provides critical factual data regarding your machine's health. If the temperature gauge suddenly spikes, the fuel gauge stops working, or error codes flood the screen, you must investigate the wiring.
Start by checking the main fuse panel. A blown fuse often shuts down a specific sensor circuit to protect the broader electrical system. Consult your operator's manual to locate the specific fuse governing the malfunctioning component. If you replace the fuse and it immediately blows again, you have a dead short in the wiring harness.
Construction environments subject wiring to constant vibration and abrasive rubbing. Trace the wire from the faulty sensor back toward the main cab. Look closely for pinched wires near the boom pivot points or areas where the protective loom has rubbed away against the steel frame.
Safety Interlock System Failures
Mini excavators feature multiple safety interlock systems designed to protect the operator. The most common interlock involves the left-hand armrest console. The machine will not allow hydraulic movement or travel unless this armrest is securely locked in the downward position.
If the machine starts perfectly but refuses to move or dig, the safety interlock switch has likely failed. A small micro-switch sits at the base of the armrest pivot. Over time, dirt and grease pack into this switch, preventing it from engaging when you lower the armrest. Clean the area thoroughly with electrical contact cleaner. If the switch remains unresponsive, you must replace the component to restore machine functionality.
Preventing Breakdowns with Routine Maintenance
Troubleshooting and repairing equipment costs your business time and capital. The most profitable contractors understand that preventing breakdowns entirely is the ultimate goal. Implementing a rigid, factual maintenance schedule guarantees your machinery delivers a phenomenal return on investment.
Durability stems from consistent care. You cannot expect a machine to perform reliably if you ignore its basic mechanical needs. Establish a culture of accountability within your crew where maintenance tasks are prioritized above all else.
The Daily Walk-Around Inspection
Operators must take absolute ownership of the machine before starting the engine each morning. A thorough walk-around inspection takes less than ten minutes but serves as your primary defense against catastrophic failures.
Check the engine oil, hydraulic fluid, and engine coolant levels carefully. Ensure you perform these checks while the machine sits on perfectly level ground. Inspect all high-pressure hydraulic hoses along the boom for signs of heavy abrasion or minor fluid leaks. Look closely at the rubber tracks for deep sidewall cuts and verify proper track tension. Ensure the quick-attach pins move freely and lock securely.
Strict Fluid and Filter Management
Fluids act as the lifeblood of your heavy machinery. As they circulate, they accumulate microscopic metal shavings, dirt particles, and moisture. You must replace the engine oil, hydraulic fluid, and final drive gear oil exactly according to the manufacturer's specified intervals.
Never stretch these intervals to save a few dollars. Degraded fluid rapidly destroys precision internal components. When performing fluid changes, take the time to inspect the old fluid. Identifying milky hydraulic fluid or metal flakes in the gear oil early allows you to address the root cause before the entire system fails.
Proper Greasing Techniques
A mini excavator features dozens of heavy steel pivot points that bear immense physical loads. Without proper lubrication, these metal components grind against each other, destroying the steel pins and bushings.
Operators must grease all daily service points outlined in the specific machine's manual. Focus heavily on the front loader linkage, the bucket pins, and the massive kingpost that connects the boom to the tractor frame. Wipe the grease fittings entirely clean before attaching your grease gun. Pumping fresh grease through a dirty fitting forces abrasive sand directly into the delicate joints. Pump the grease until you see fresh, clean grease purge from the edges of the bushing.
The Value of Professional Dealer Support
Securing heavy equipment means partnering with a manufacturer and dealer network that prioritizes your success. The reliability of your support network directly dictates your fleet's long-term uptime and overall profitability. Choose an equipment provider that offers straightforward warranties and totally accessible customer service.
Genuine OEM Parts vs. Aftermarket
When a machine requires a replacement component, you need rapid access to genuine parts. A strong dealer network maintains a massive local parts inventory, minimizing the time your mini excavator spends out of commission.
Avoid cheap aftermarket parts that compromise the structural integrity and safety of your machine. Cheap hydraulic filters often collapse under pressure, and aftermarket undercarriage components wear out rapidly. Using manufacturer-approved components ensures your excavator continues to perform exactly as it did the day it left the factory floor.
Comprehensive Warranty and Service Contracts
Look for a service department staffed by certified, factory-trained technicians. These professionals possess the advanced diagnostic tools required to troubleshoot complex hydraulic and electrical systems rapidly. Comprehensive warranty coverage guarantees your machine receives professional, high-quality care without unexpected financial burdens.
Many reliable dealers offer preventative maintenance contracts. These agreements allow certified technicians to handle your 500-hour and 1000-hour interval servicing. This proactive approach takes the burden of major maintenance off your shoulders, giving you total confidence in your machinery and allowing you to focus entirely on executing your projects.
Take Action to Protect Your Fleet
Mastering the troubleshooting procedures for your mini excavator empowers you to operate more efficiently and identify minor issues before they escalate into major failures. By understanding how to diagnose sluggish hydraulics, stalling engines, and track derailments, you maximize the capability and lifespan of your equipment.
Enforce strict daily inspection routines and partner with a reliable equipment dealer who provides comprehensive service beyond the initial purchase. Treat your machinery with respect, maintain it proactively, and it will deliver exceptional reliability and strong profit margins for years to come. Utilize this knowledge to train your operators and elevate the professionalism of your entire contracting business.